Scoring Candidates: Uploading and Processing CVs
The Score Candidates workflow guides you through selecting a job analysis, uploading candidate CVs, and running the AI-powered scoring process. This ensures each candidate is evaluated consistently against the same set of job requirements.
To begin, click Score Candidates on the left sidepanel. This will display a list of jobs for which candidates have already been scored or are in the process of being scored. From here you can:
- Click on a row to view the candidate assessments for each specific review.
- Delete a review including all candidate assessments.
Step 1 – Select Job Analysis
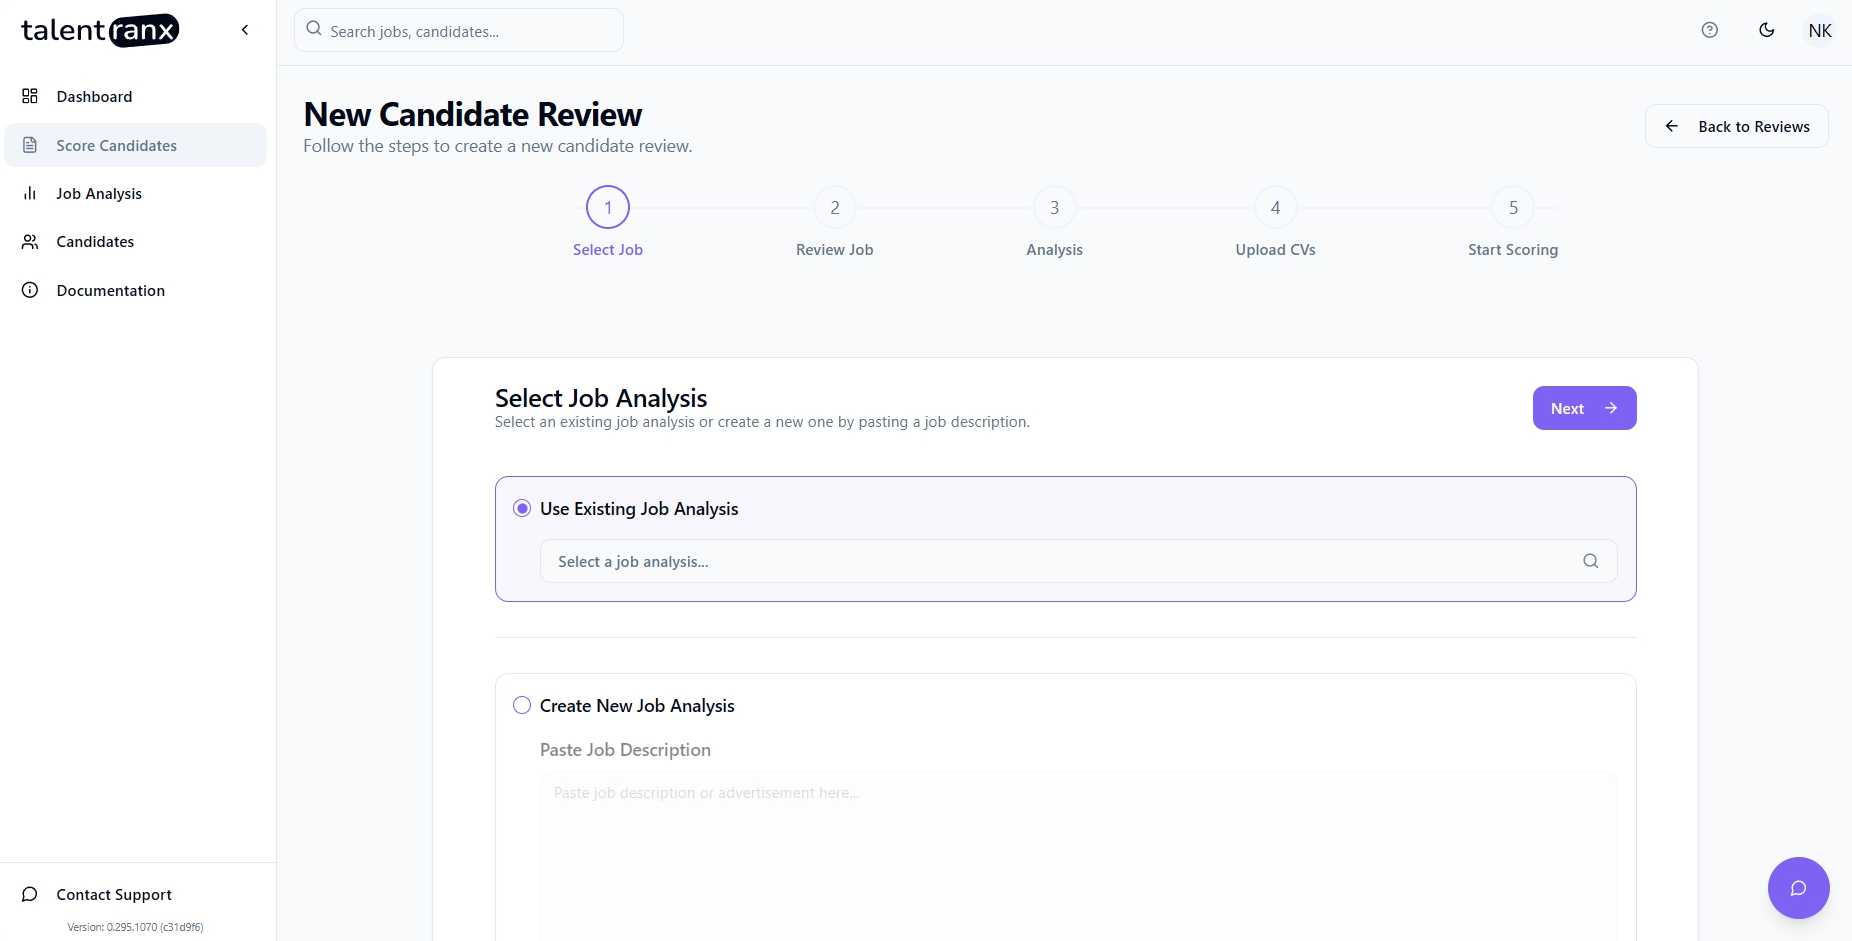
When you start scoring, you can:
-
Use Existing Job Analysis Select a previously created job analysis from the dropdown.
-
Create New Job Analysis
-
Paste Job Description – Copy and paste the full job ad text into the provided box.
- Upload File – Upload a PDF, DOCX, or TXT file containing the job description.
Click Next to proceed.
Step 2 – Review Job Description
If you've chosen to create a new job analysis:
- The editor displays the extracted job description.
- Make any necessary adjustments or corrections directly in the text editor.
- Click Next once the content is accurate.
This step is skipped if you're using an existing job analysis.
Step 3 – Job Analysis Results
If you've chosen to create a new job analysis:
- The extracted job requirements are listed in this step
- They can be edited, deleted or new ones created if required
- Click Next once you're satisfied with the job requirements
This step is skipped if you're using an existing job analysis.
Step 4 – Upload Candidate CVs
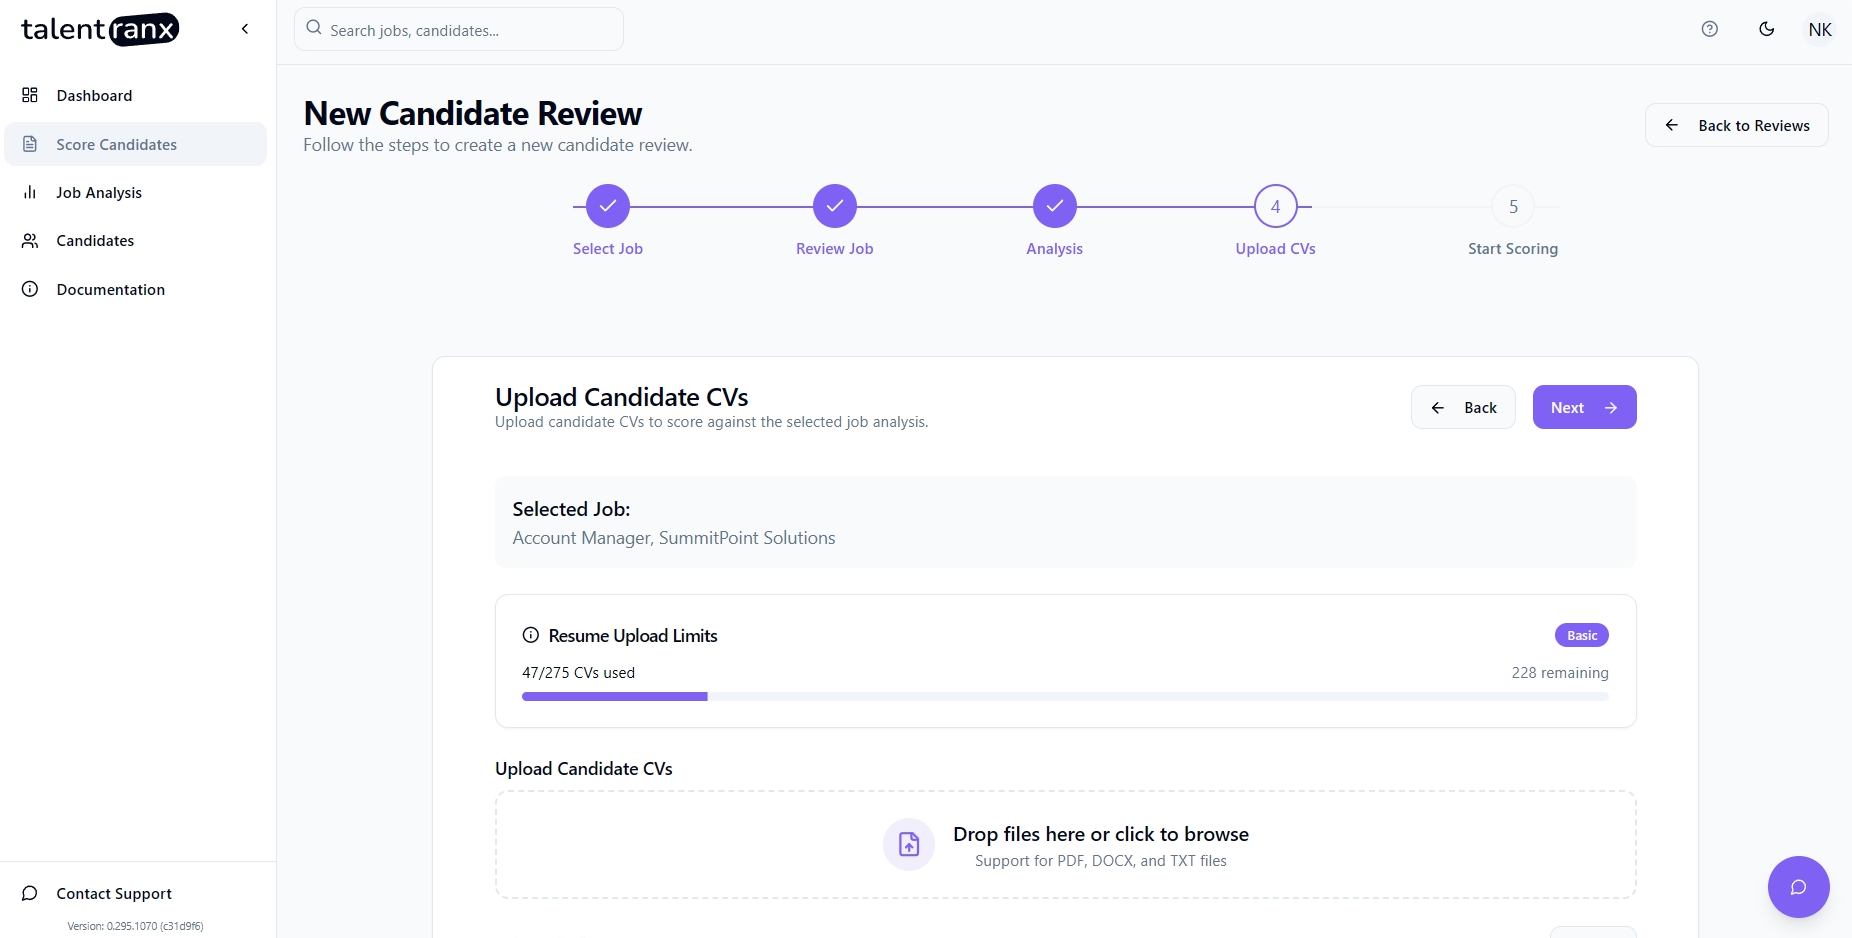
- Drag and Drop one or more CV files into the upload area, or click to browse your files.
- Supported formats: PDF, DOCX, TXT
- Note that text is extracted from each file as part of this step so the Next button will be disabled until text from all files is extracted
- Review the list of uploaded files before proceeding.
- Use Clear All to remove all uploaded CVs if needed or click x on each file chip to remove individual files
Click Next to continue.
Step 5 – Start Scoring
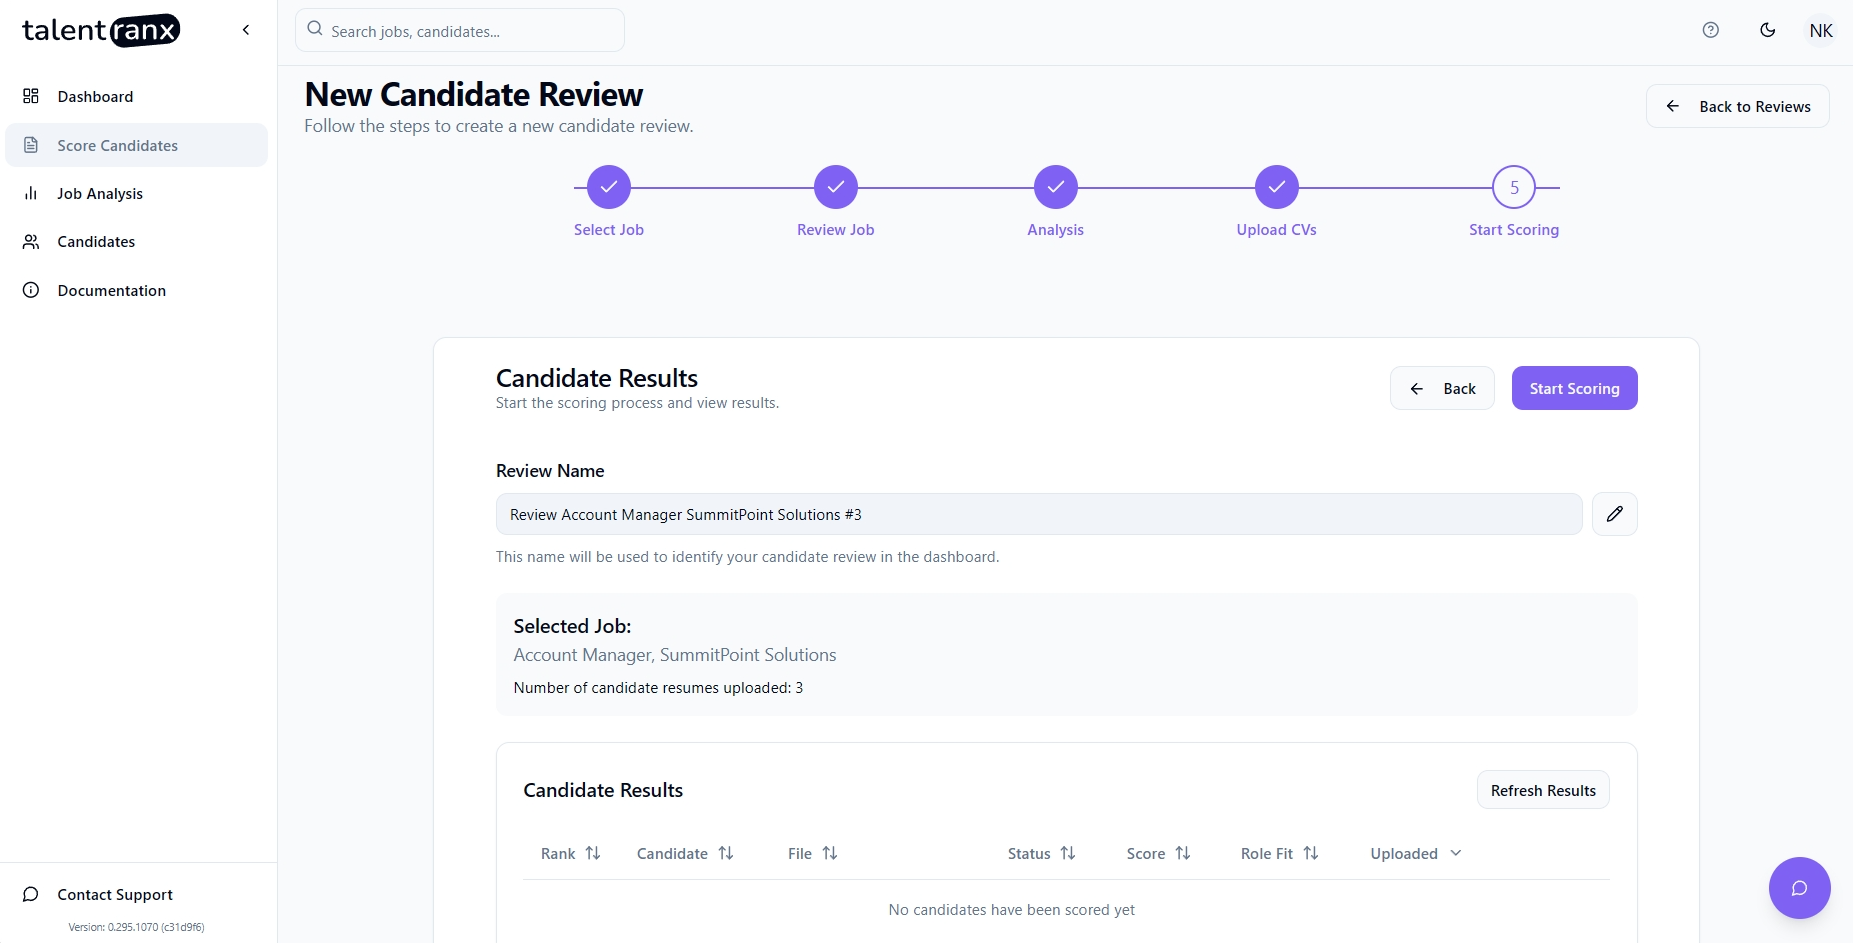
- Change the Review Name to something more meaningful if you want to (it's used to uniquely identify this scoring batch).
- Check the Selected Job details and number of CVs uploaded are correct.
- Click Start CV Scoring to begin processing.
From here, Talentranx queues all candidate resumes for scoring. Initially the status of each uploaded resume is set to pending and will change to processing once it has reached the top of the queue and then completed. Note it's possible for multiple resumes to be assessed on at the same time. Once scoring has been started, you'll see:
- Rank for each scored candidate resume ie; who is currently First, second, etc, based on scores so far
- Candidate and File will initially be the same and set to the file name. When that resume is processed, the candidate's name will be updated.
- Status is initially set to pending and will change to processing once it has reached the top of the queue and then completed.
- Score once completed.
- Role Fit category of the candidate's alignment with the job (High, Moderate, Low or suited to a Different Role).
- Uploaded The time when the resume was uploaded.
Tips
- Use consistent job analyses for multiple candidate batches to ensure comparable scoring.
- Ensure resumes are text-based or contain extractable text eg; don't upload images only or a PDF that isn't searchable
- You do not need to wait till all resumes are processed - you can do other tasks, log out of Talentranx or even close the browser. Results are viewable by clicking Score Candidates on the left sidepanel or via the Dashboard in the Recent Scoring Results card.